
· Guide · 8 min read

Properly securing your server can go a long way in saving you a lot of time, money and headaches. Global statics clearly suggest that cyber criminality is a fact of life now, creating billions of dollars in losses worldwide.
We at DataPacket do not take security lightly. In this article, we provide 9 useful tips for securing your server and fighting off the most common threats. No matter what business you’re in, we promise that following our advice is going to be worth it in the long run.
Starting with the obvious, keeping your system up-to-date and backing up your data is the very least you can do in terms of securing your server. While this may seem like a no-brainer, you’d be surprised how many people neglect these simple precautions.
The root user is the first user created by default with most Linux installations. Root has unlimited privileges over the entire system and can run any command – including those capable of causing irreversible damage.
Using root for your day-to-day tasks poses a long-term risk. Since root is the default user on most Linux distributions, you’re already giving bots – or people, for that matter – half the information they need to hack into your system by brute-forcing your password.
There are two steps to reducing these risks. First, you need to create a new user with limited privileges. Second, you must disable root access via SSH.
adduser YourUserNameusermod -aG sudo YourUserNamesu YourUserNamesudo -lUser YourUserName may run the following commands:(ALL : ALL) ALLFrom now on, only log into your server using the new account. Remember that you’ll still be able to execute all critical administrative tasks using sudo, but without compromising on security.
After you’ve created your own account with root privileges, go ahead and disable root access via SSH.
sudo nano /etc/ssh/sshd_config#PermitRootLogin prohibit-passwordPermitRootLogin nosudo service ssh restartNow you’re done! That wasn’t so bad, was it? Preventing brute-force attacks is an essential part of securing your server. While hardening SSH access is a good place to start, there are other techniques worth considering as well, such as installing the Fail2ban package.
A simple SSH hardening tip is to change the default SSH port from 22 to something random, like 2946. Attackers often launch brute-force attacks against port 22 because that’s where SSH usually listens. By changing the default port, these breach attempts stop being an issue.
sudo nano /etc/ssh/sshd_config#Port 22sudo service sshd restartIf you detect suspicious activity on a randomly chosen port, chances are that you’re being targeted by a more sophisticated attack. In case that happens, take additional measures as soon as possible.
Make sure the new port isn’t blocked or already in use. Also, please keep in mind that certain services may stop working if the default port is changed.
By default, SSH uses password authentication. Not only does that make your server vulnerable to brute force or dictionary attacks, but there are other drawbacks as well:
To limit your exposure, we recommend that you configure your server to use key authentication. As an added measure, you can also disable password-based logins.
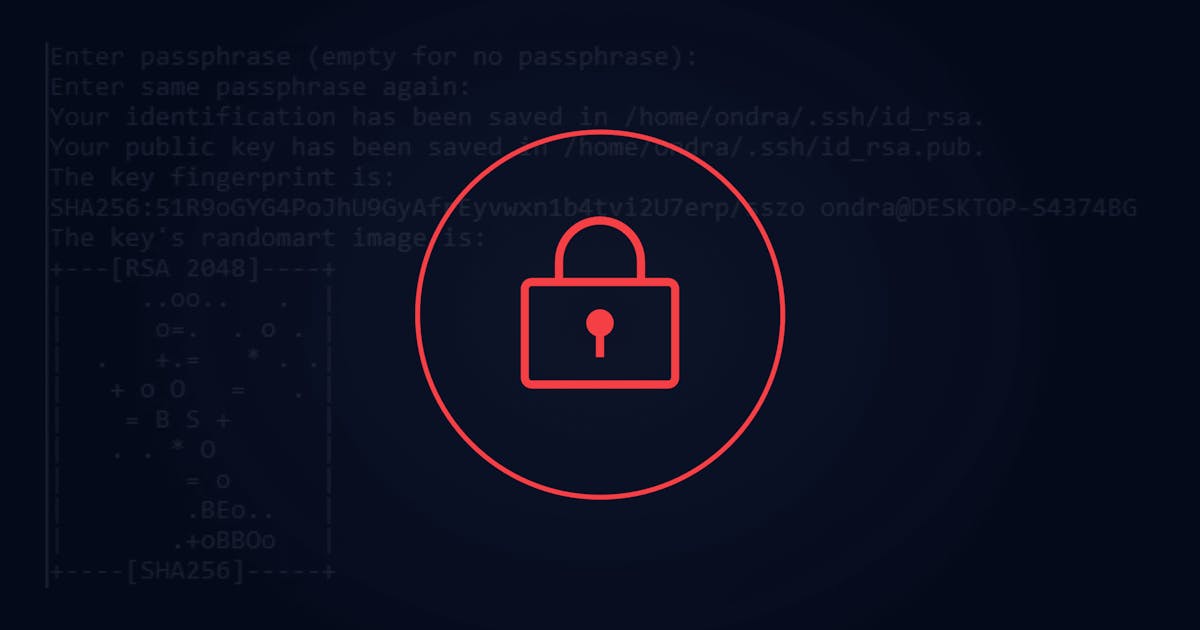
ssh-keygen -t rsassh-copy-id_username@remote_hostssh username@remote_host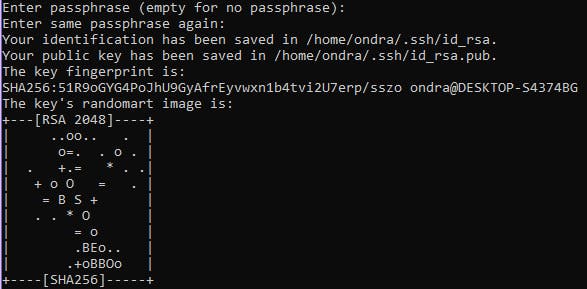
While keys are virtually impossible to crack by brute force, strong passwords provide a similar level of security. That being said, you might find yourself in a situation where disabling password authentication altogether is the best way to go.
sudo nano /etc/ssh/sshd_config#PasswordAuthentication yesPasswordAuthentication nosudo service sshd restartssh -o PerferredAuthentications username@remote_hostPermission denied (publickey).Do not lose your private key. If you lose it, you’ll lock yourself out of your server.
As suggested above, most bots trying to brute-force your password can be fought off by hardening your SSH access. That being said, thousands of unsuccessful attempts (sometimes per day) still increase server load, clutter up your logs, and are a nuisance in general.
Fail2ban monitors authentication logs for suspicious activities such as failed login attempts. After a pre-defined number of failures, the detected IP is blocked for a given duration. While this is an effective way of dealing with brute-force or dictionary attacks, it does not eliminate all security threats. Our recommendation is to use Fail2ban in combination with other lines of defense.
For more information on how to use this tool, please refer to the official documentation.
While there are several firewall utilities available out there, we fully recommend that you spare a moment to configure iptables – a free command-line firewall tool pre-installed by default in most Linux distributions. Iptables works by matching network traffic against a set of user-defined rules and deciding what to do next.
To give you a clear idea of what iptables can do, let’s list a few everyday scenarios:
Being a complex and powerful tool, iptables also allows you to get a bit more creative with the rules you create:
There are two approaches you can take when configuring a firewall:
To learn more about iptables, please refer to the official documentation.
If you’re new to iptables, we recommend that you first test your rules on a computer you have physical access to. Otherwise, if you’re not absolutely sure about what you’re doing, you risk locking yourself out of your server.
If your server suddenly becomes flooded with large amounts of fake traffic, you’ve fallen victim to a DDoS attack. The purpose of a DDoS attack is to waste your hardware resources, which usually results in slowing your server down, or worse, making it completely inaccessible by your customers, potentially costing you a lot of business.
DDoS protection quality varies by provider. We at DataPacket have been continuously building our own DDoS protection environment. Thanks to real-time toxic traffic detection and filtering, our customers have one less thing to worry about.
If you have any reason to think that you are likely to become a target of a DDoS attack, or if you simply adopt the protection is the best medicine approach, do not hesitate to contact our sales team.
Tempting as it might sound, there is no one-size-fits-all security strategy. If your goal is to reduce the attack surface to a bare minimum, make sure to use several lines of defence.
Founded in 2014, DataPacket is a dedicated server provider operating a global low-latency network. With a footprint of 67 locations across 6 continents, DataPacket helps businesses–including gaming and video streaming companies–to deliver great online experiences.